Master Bathroom Remodel Timeline by Trade: Week-by-Week Schedule
Know What to Expect From Your Master Bath Remodel
A master bathroom remodeling project touches almost every part of your home’s systems, from plumbing and electrical to framing and finishes. When you know what happens week by week, the project feels less overwhelming and you can plan your daily life around it.
In a typical Maryland master bath, the work moves through clear stages: demolition, framing and layout checks, plumbing and electrical rough-ins, waterproofing, tile, fixtures and finishes, inspections, and final cleanup. Every home is a little different, but the order of trades stays fairly consistent. Our goal with this timeline is to show you what usually happens each week, who is in your home, and when you can safely start using that new spa-style space again.
Week 1: Demolition, Structural Prep, and Layout Checks
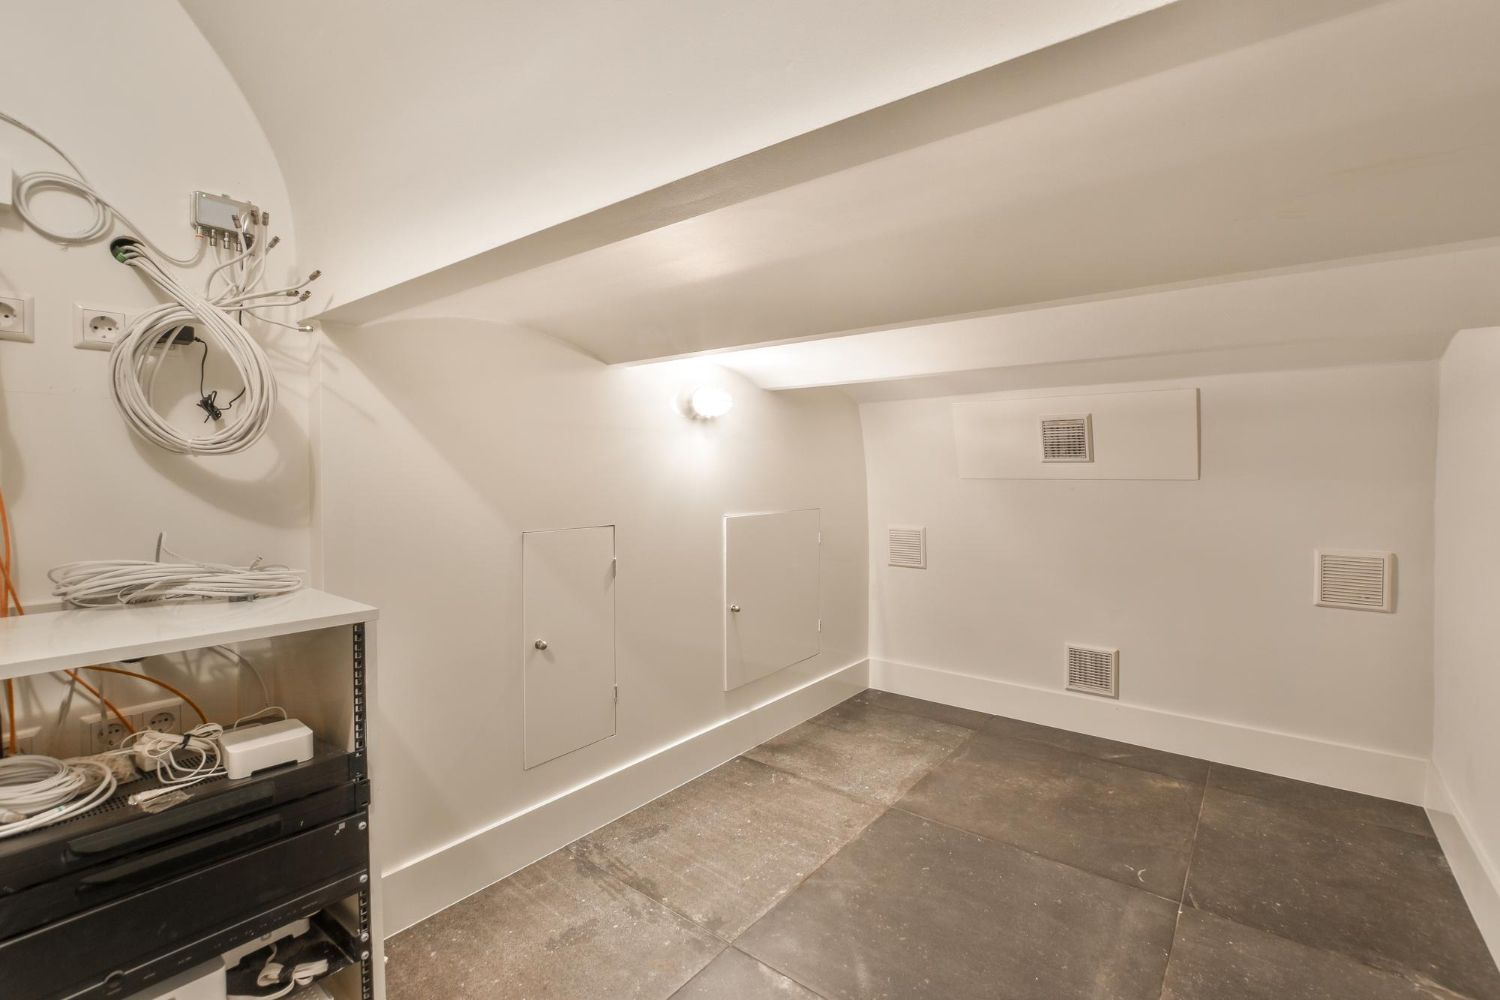
The first week is loud, dusty, and busy, but it is also where real progress is easiest to see. Demolition in a master bathroom typically includes:
- Removing old tile, shower or tub, vanity, toilet, and flooring
- Opening walls or ceilings where plumbing and wiring need to change
- Pulling out damaged drywall, wet insulation, and rotten framing
We protect the rest of your home as we go. That usually means plastic dust barriers, floor coverings in the hall, and planned paths for debris in and out of the house. Good protection is important, especially if bedrooms or closets connect directly to the master bath.
Once the room is open, we can check the “bones” of the space. We check for:
- Subfloor damage from old leaks
- Framing that needs reinforcing or adjusting
- Existing vents or chases we can reuse for better airflow
This is also when layout gets confirmed with you one more time. Before any new rough-in work starts, we walk the space and mark:
- Shower size and door swing
- Tub location and style
- Exact vanity length and sink locations
- Lighting points, switches, and outlets
Catching changes here saves time and helps avoid moving pipes and wires twice.
Weeks 2, 3: Plumbing, Electrical, and HVAC Rough-Ins
With the room open and layout locked in, the rough-in trades take over. Plumbing rough-in sets up everything hidden in the walls and under the floor. For a master bathroom remodeling project, that can include:
- New hot and cold supply lines to shower, tub, sinks, and toilet
- Updated drain lines and venting to meet current codes
- Shower valve height and depth checked against your tile and trim choices
- Lines for rain heads, handhelds, or body sprays if you want a spa-style shower
- Placement of shower niches so they line up with your tile pattern
At the same time, the electrician runs new wiring. Common upgrades are:
- Dedicated circuits for lighting and GFCI-protected outlets near the vanity
- Power and controls for features like heated floors
- Wiring for an exhaust fan with enough power for a steamy master shower
- Prepping for LED mirrors, sconces, or extra ceiling lights
HVAC adjustments can include moving or adding vents, making sure ducts are properly sized, and confirming there is a clear path for moist air to leave the bathroom.
In Maryland, inspectors usually want to see the plumbing and electrical rough-ins before we close the walls. They look for correct pipe sizing, proper slope, secure wiring, grounding, and GFCI protection. Passing this step is key so that the project can keep moving into insulation and drywall if needed.
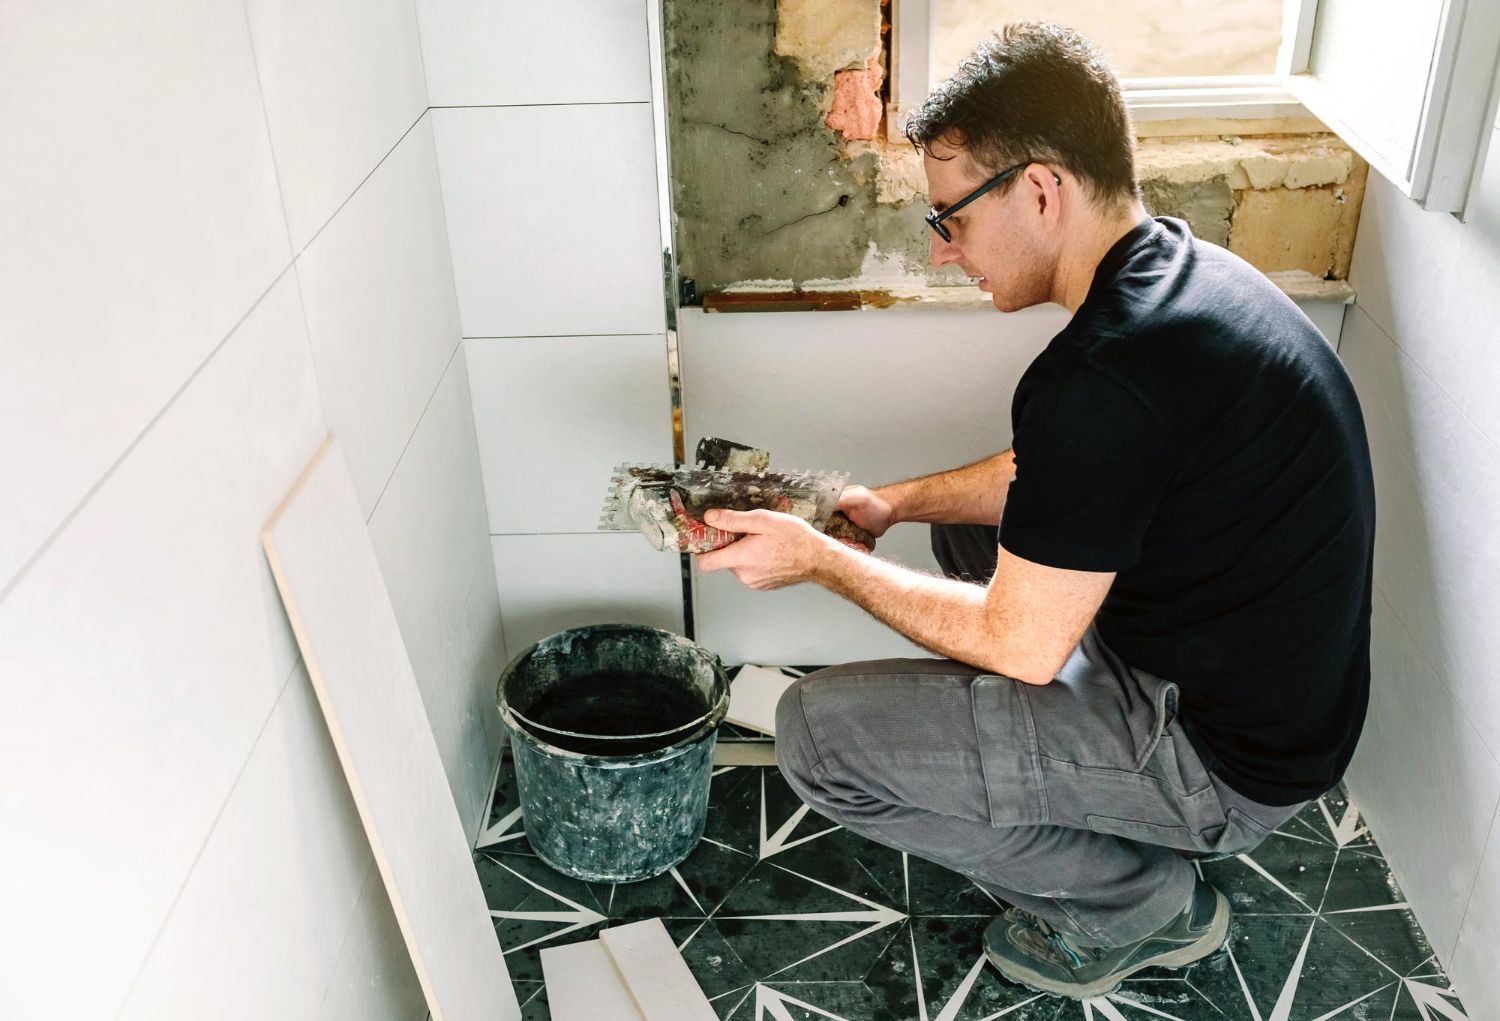
Weeks 3, 4: Waterproofing and Tile Set the Foundation
Once rough-ins and inspections are done, we focus on the surfaces that support your finishes. Substrate work comes first. This often includes:
- Repairing or replacing subfloor areas that were soft or uneven
- Installing cement backer board or other approved underlayment in wet zones
- Building and sloping the shower pan toward the drain
- Straightening and flattening walls so large tiles sit clean and even
Then we move into full waterproofing, especially in a walk-in or spa-style shower. A typical system might involve:
- Applying sheet or liquid waterproof membranes on shower walls and floor
- Paying special attention to seams, corners, and transitions
- Carefully wrapping niches and benches so no water can get behind tile
- Performing a flood test on the shower pan if needed, to confirm it holds water
Only after the waterproofing passes inspection or internal checks do we start tile. Tile installation is detailed work, and design choices affect how long it takes. The crew usually:
- Lays out tile patterns on the floor or walls first so cuts land in the right places
- Installs floor tile, then shower walls, then any feature strips or mosaics
- Spaces and levels each piece so grout joints are even
- Returns to grout after the thinset has cured, and then comes back again to caulk movement joints and corners
Large-format tile can speed up or slow down the process depending on how flat the surfaces are. Intricate mosaics or custom patterns often add a few days to this stage.
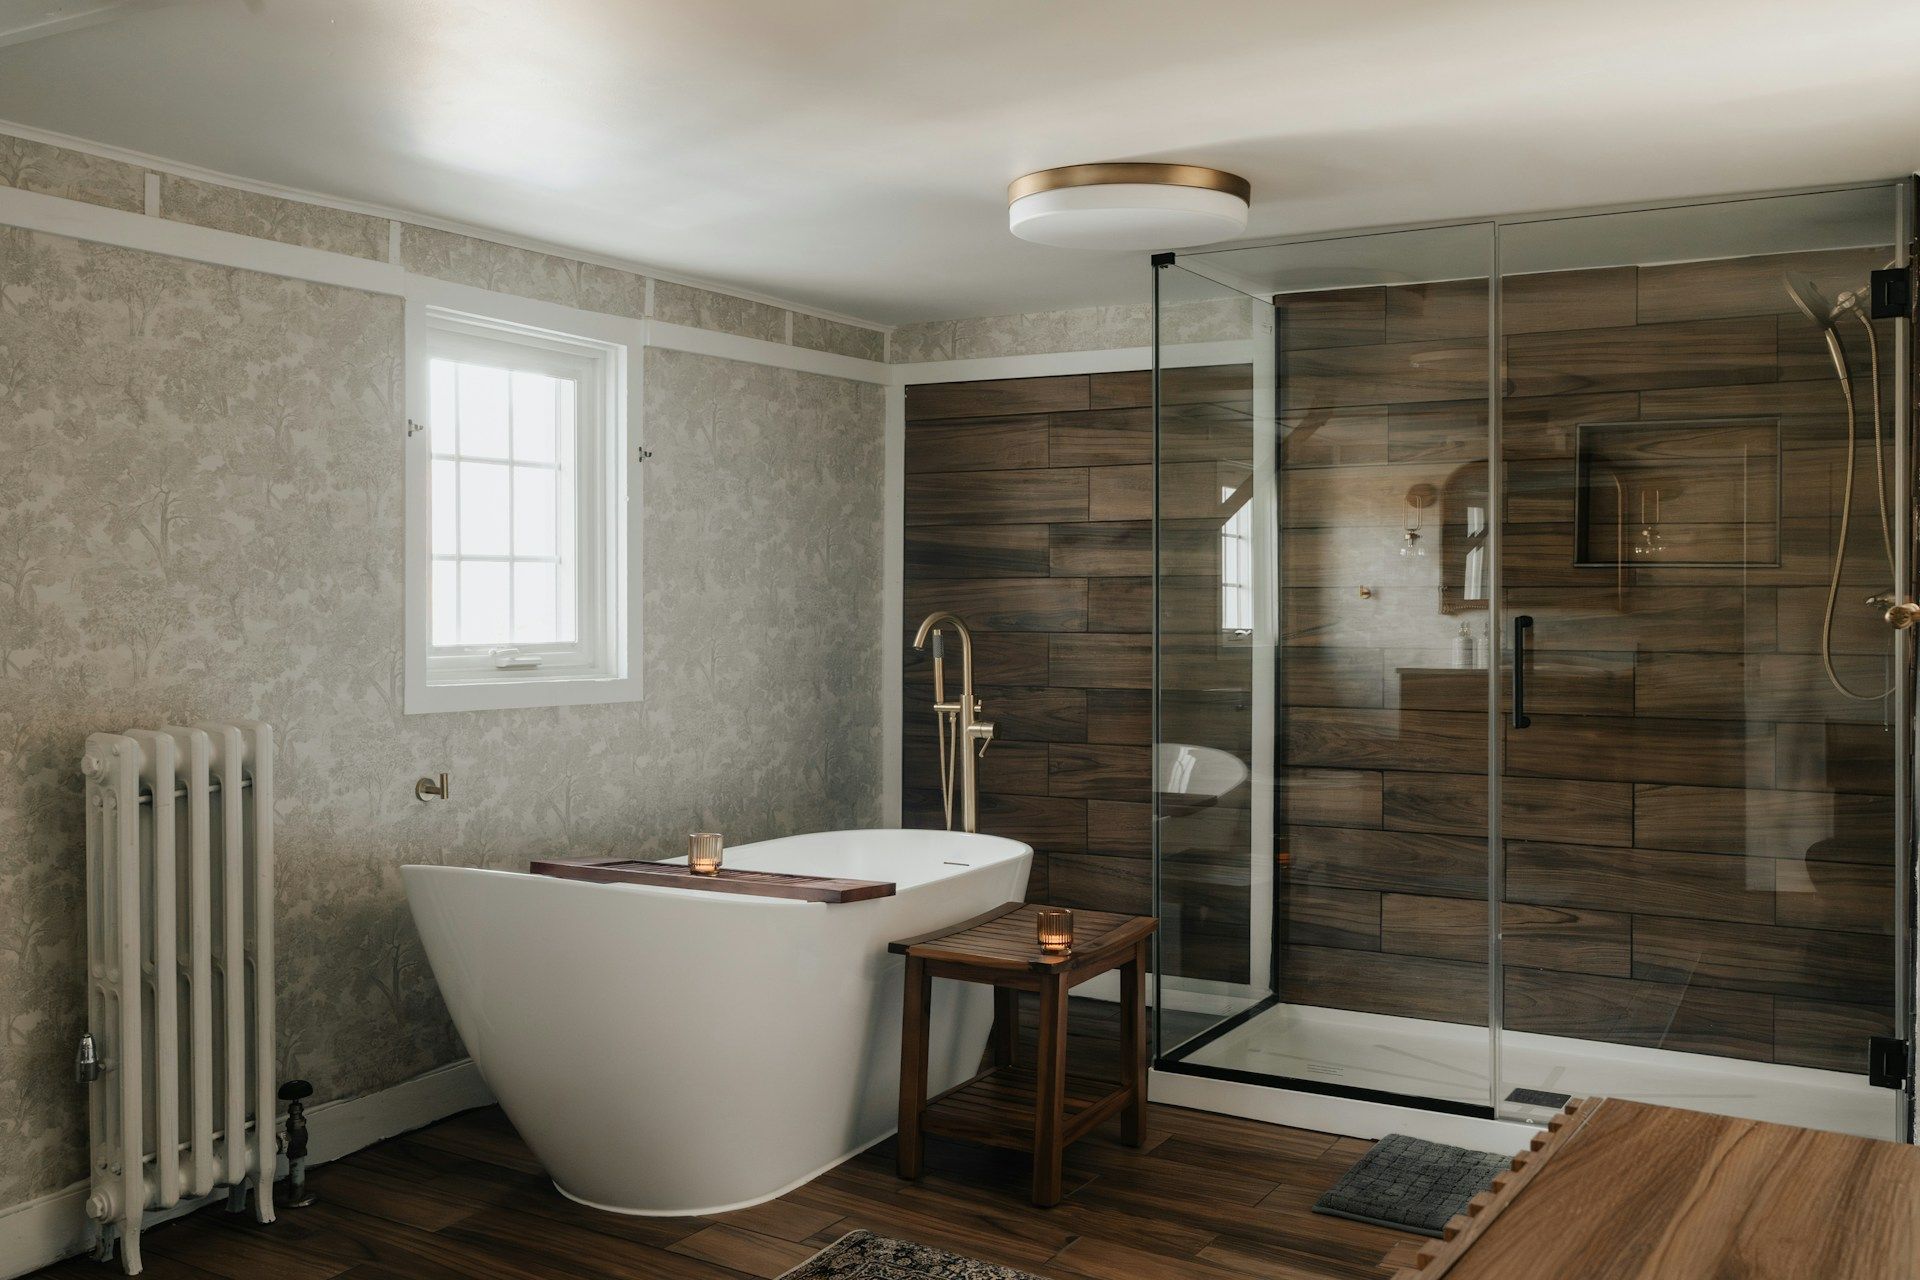
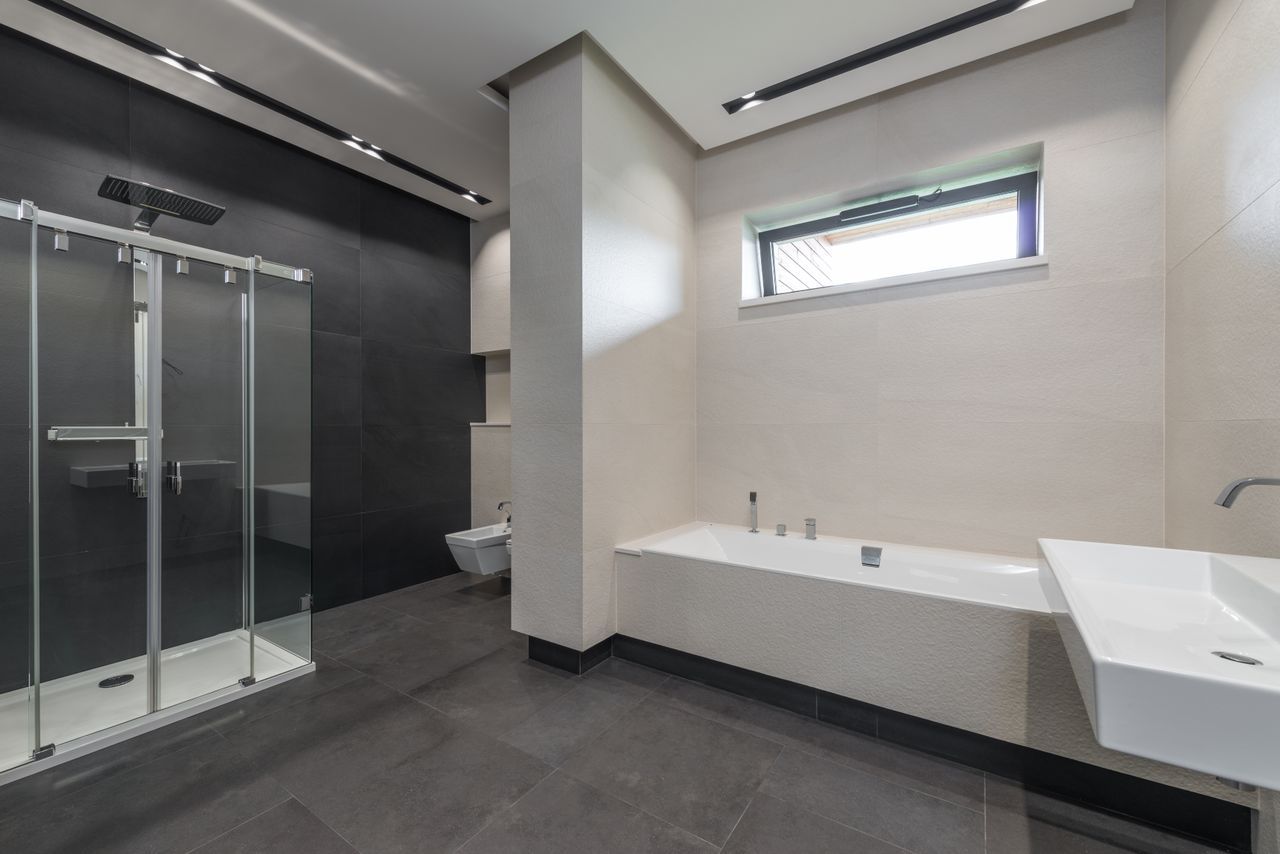
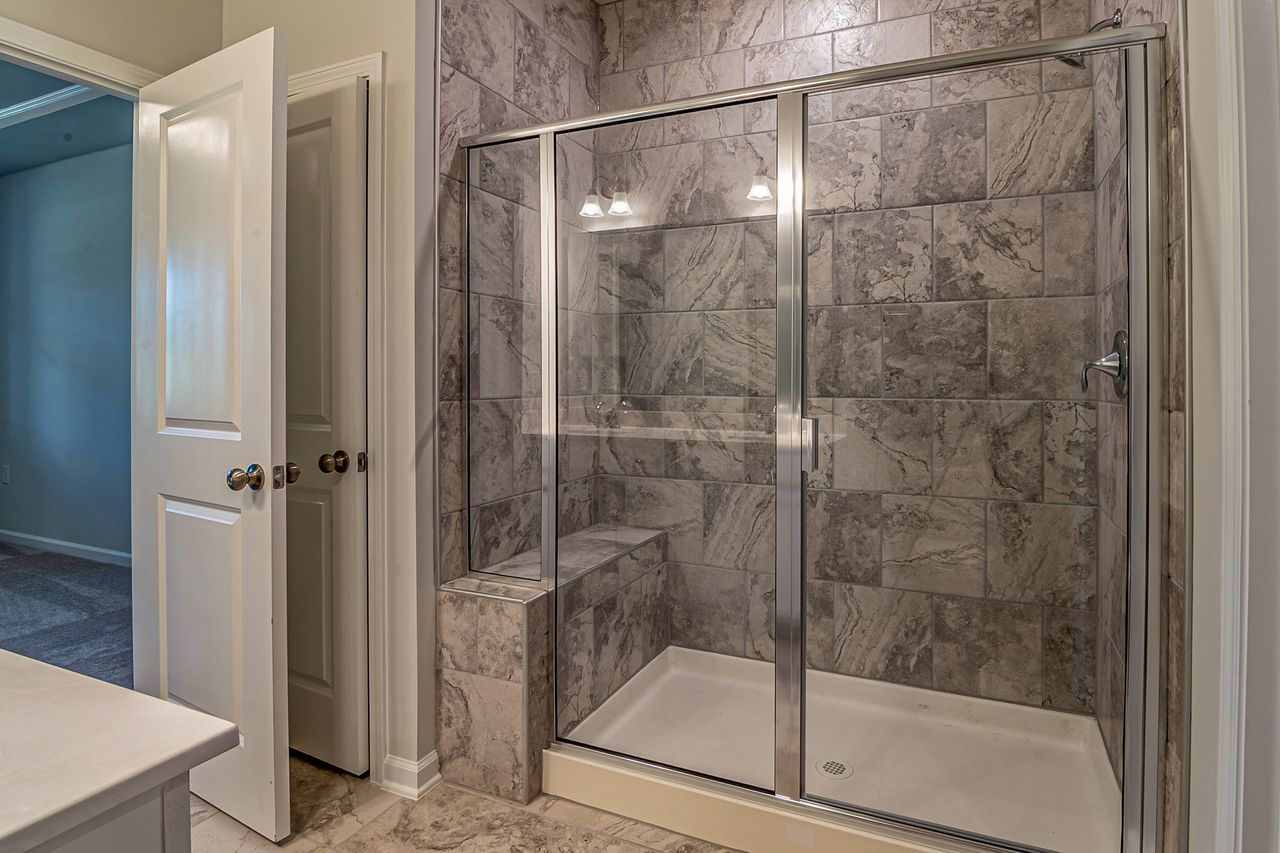
Weeks 4, 6: Fixtures, Final Touches, and When You Can Use It
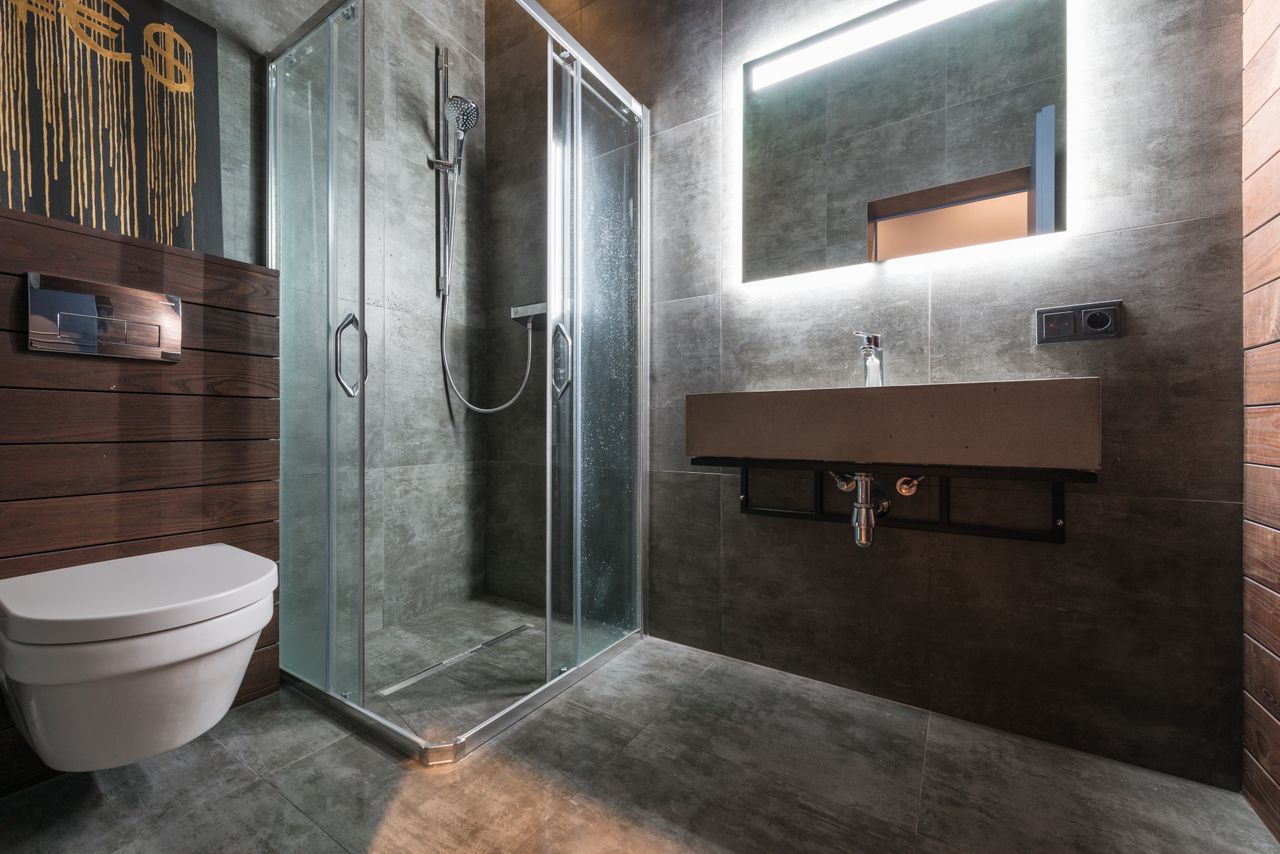
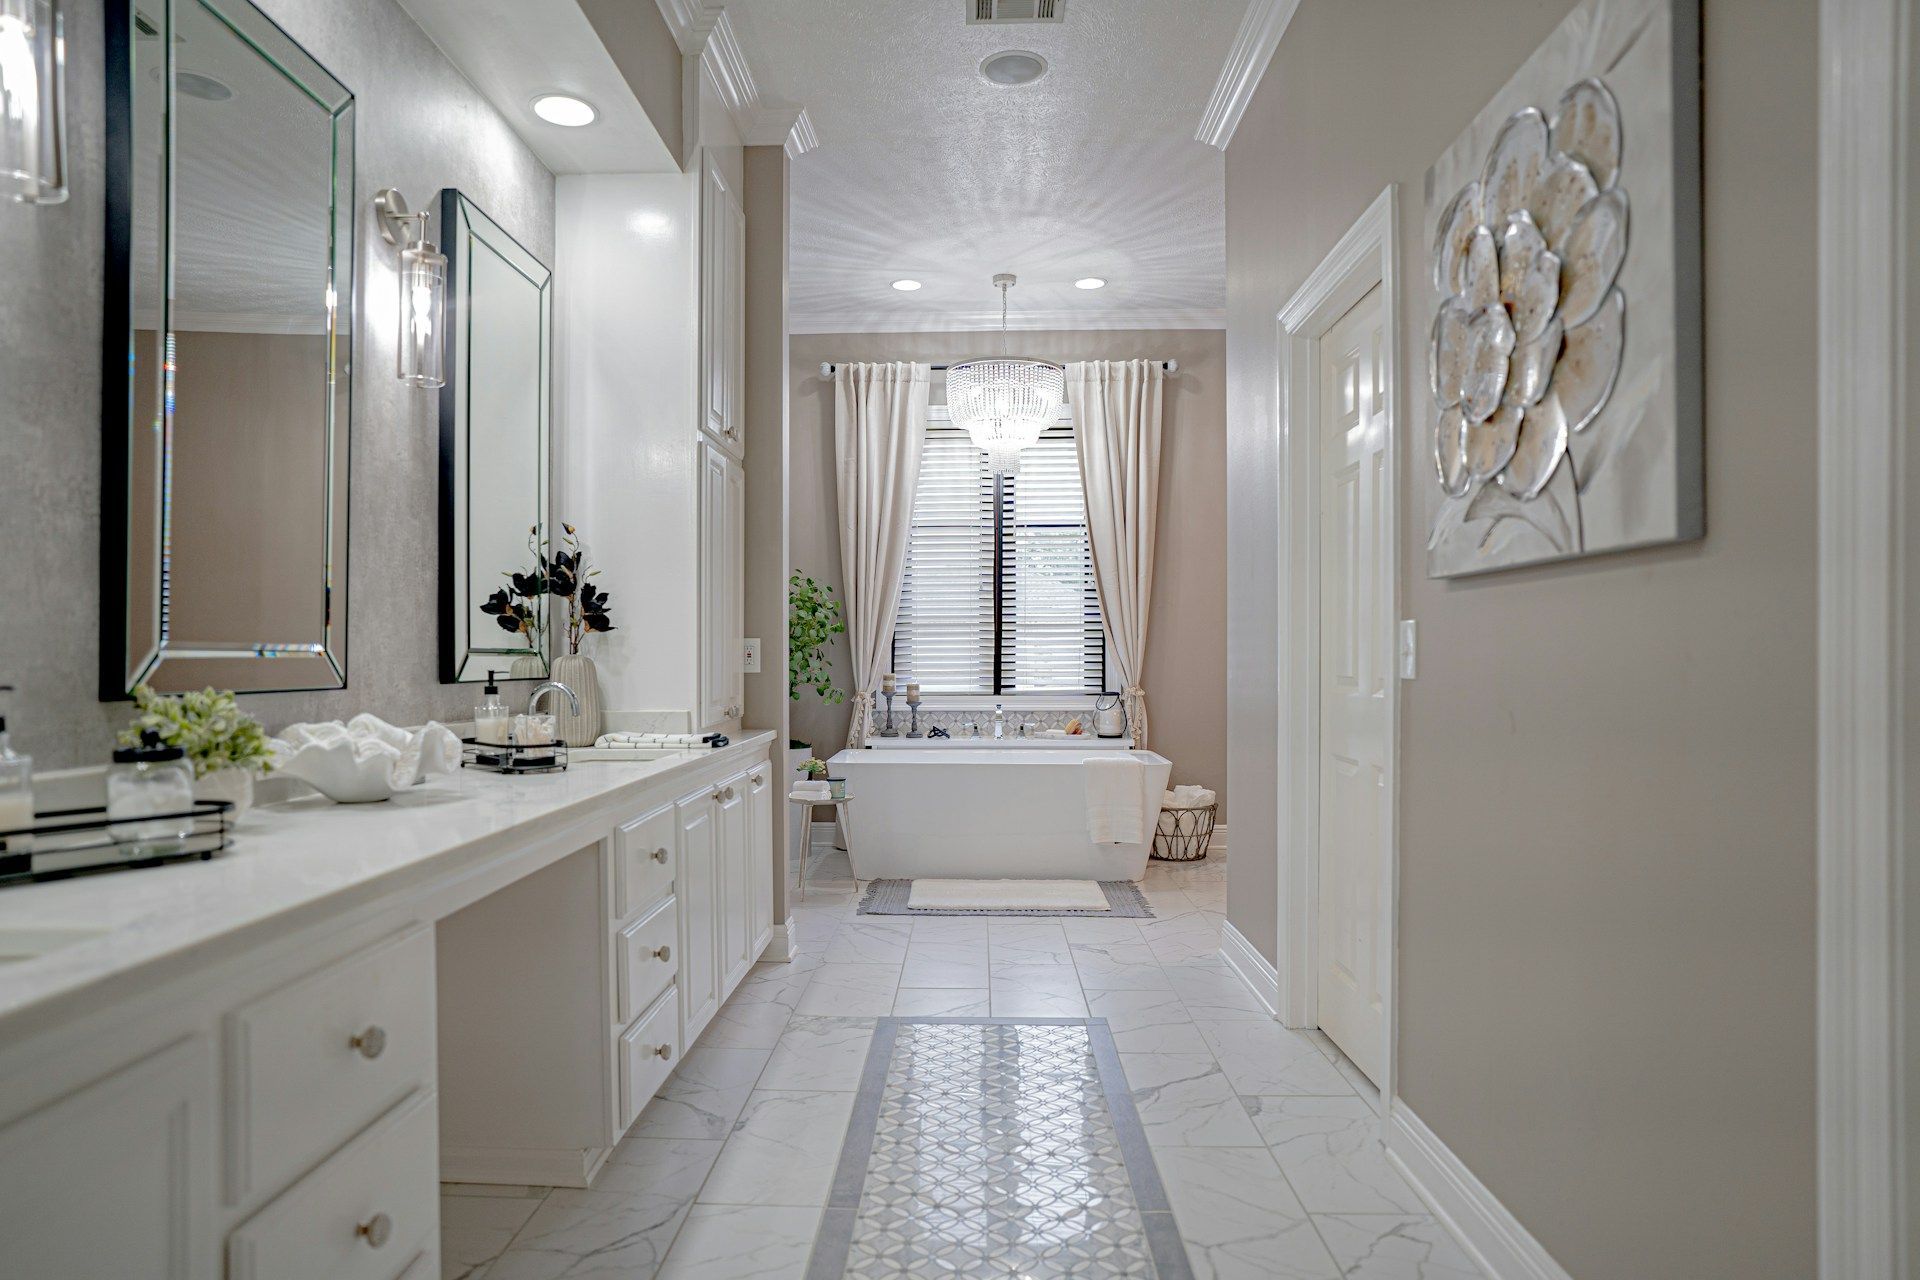
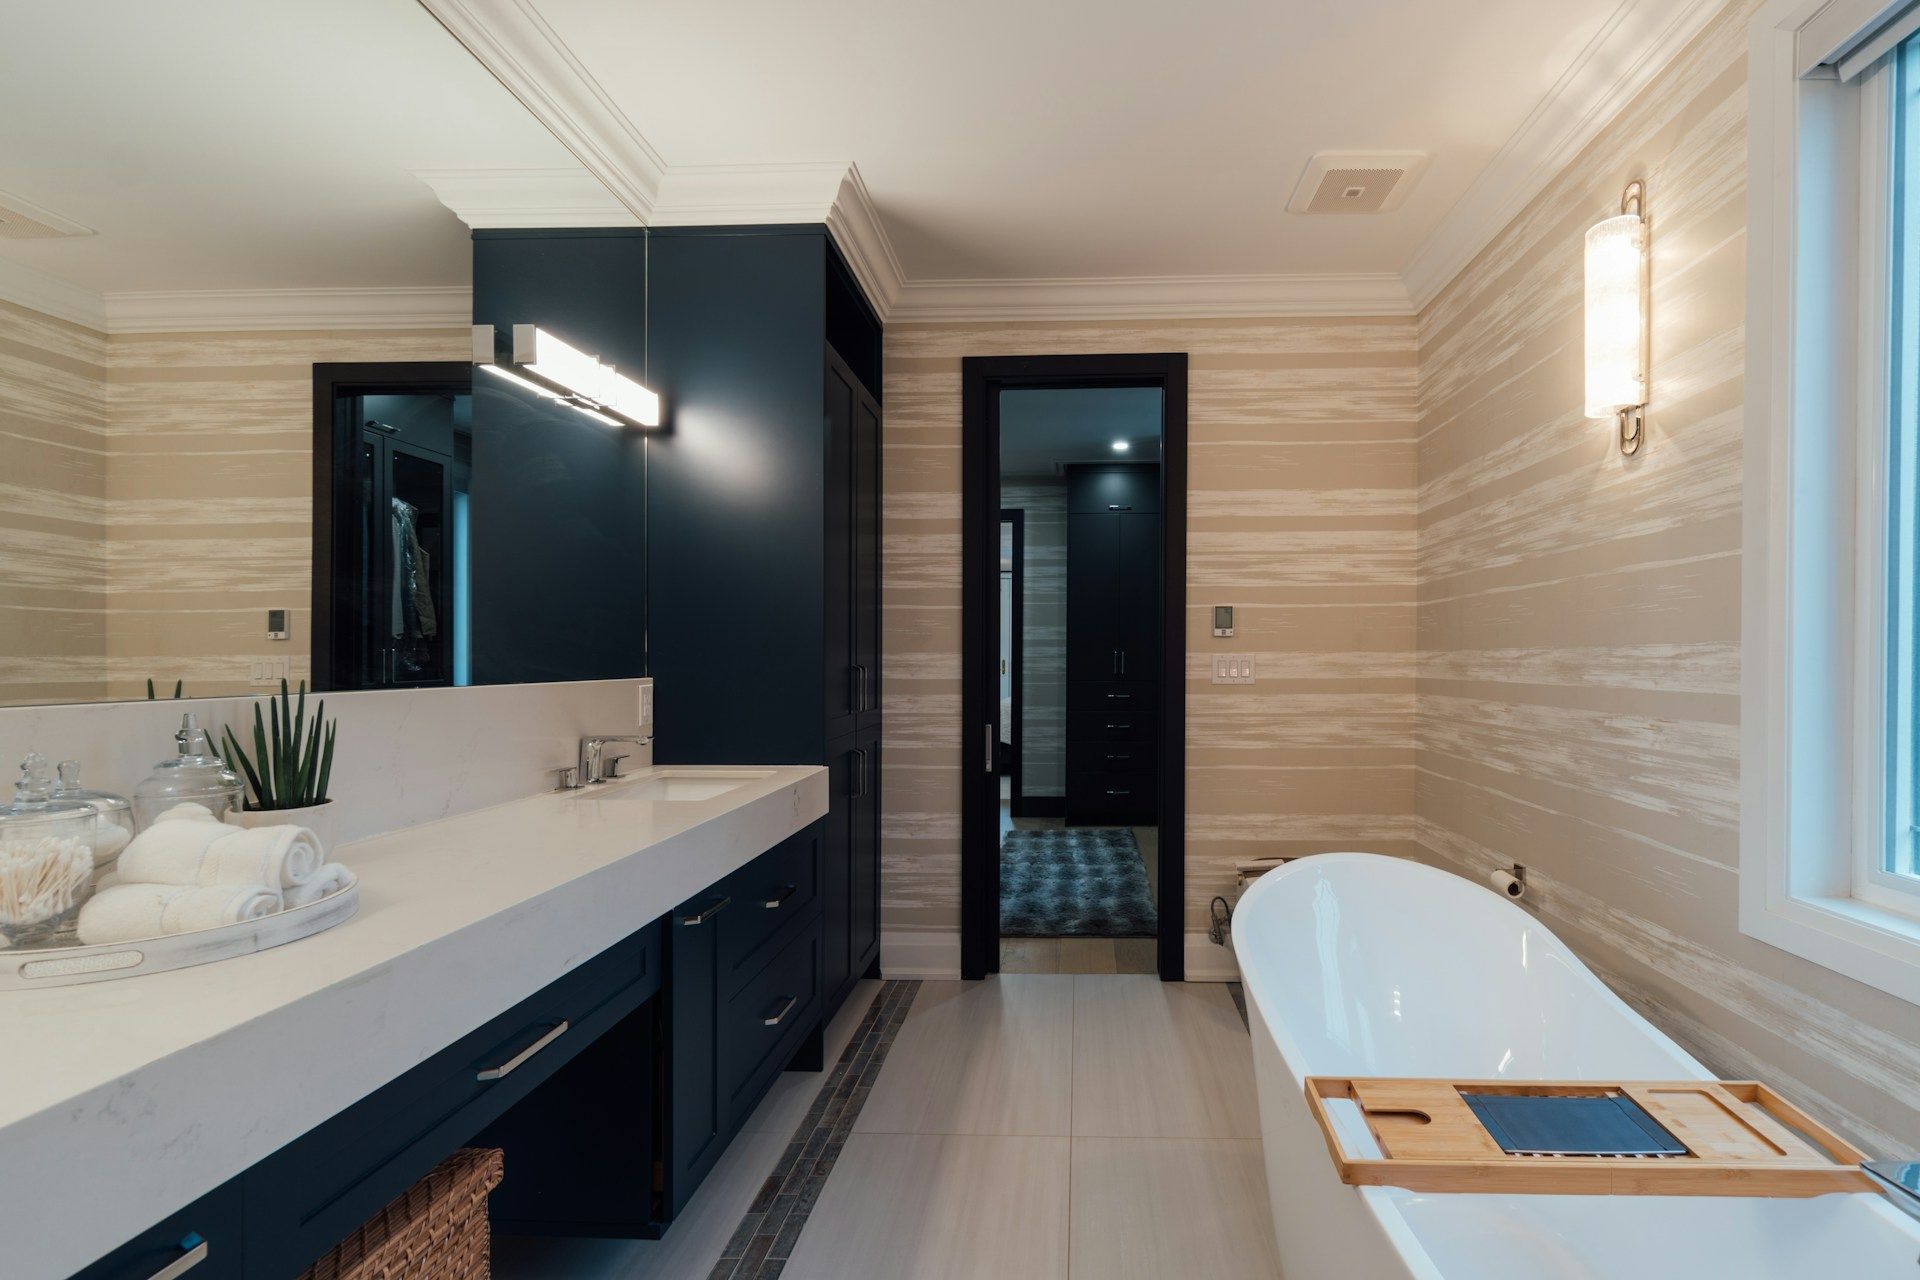
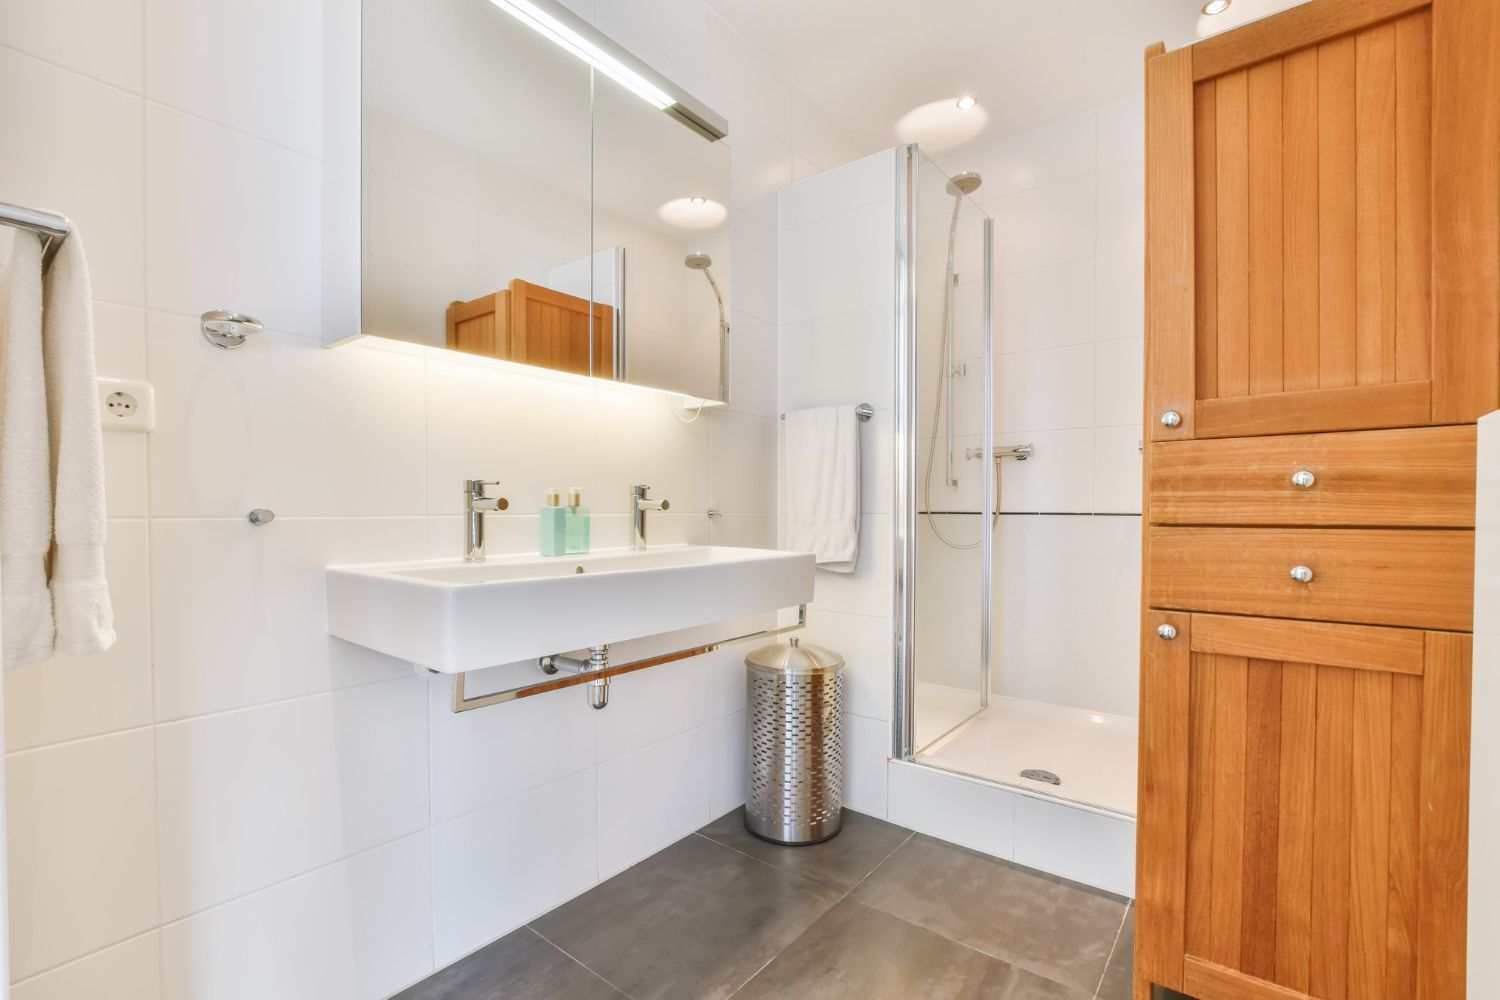
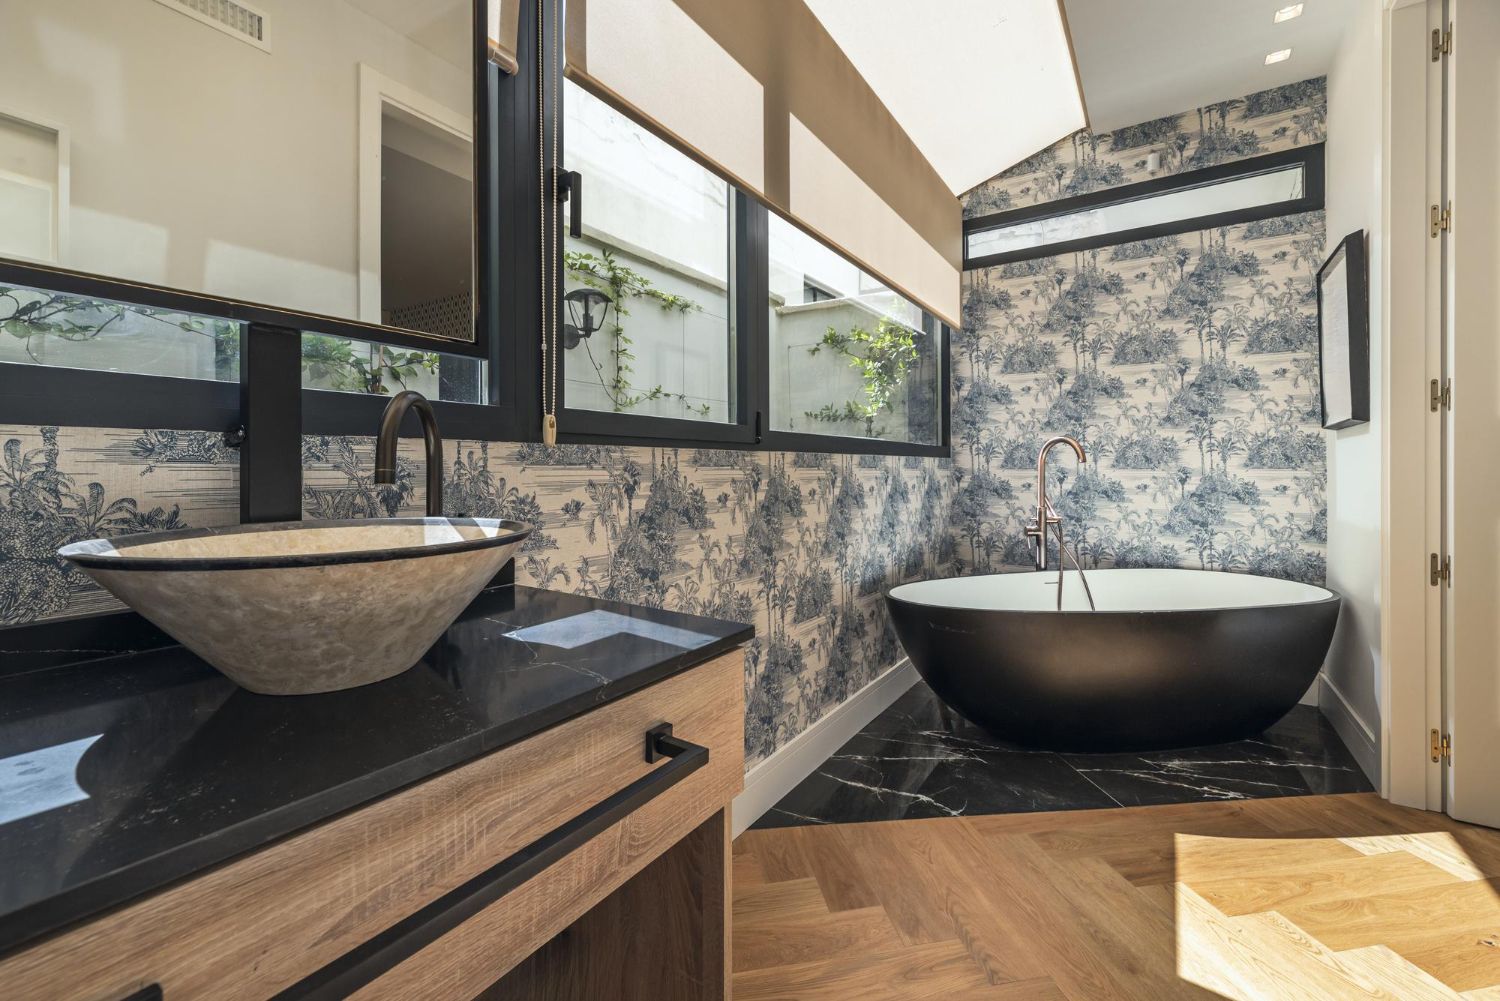
With tile and grout in place, the bathroom starts to look like the finished design inside your mind. Now comes fixture installation and final finishes. Common steps include:
- Setting the new tub, whether freestanding or in an alcove
- Installing toilets, vanities, and sinks
- Mounting faucets, shower heads, valves, and hand showers
- Placing mirrors, accessories, towel bars, and robe hooks
Lighting and electrical finishes follow close behind. The electrician will:
- Install ceiling lights, sconces, and any integrated mirror lights
- Hook up the exhaust fan and controls
- Test GFCI outlets and switches
Any remaining drywall work, trim, and paint gets wrapped up during this phase. We also complete final plumbing and electrical connections and arrange any last inspections required for code compliance. Then we walk the room with you and create a punch list of small details to adjust, like caulk touch-ups or door alignment.
The big question is when you can actually use the space. General guidelines are:
- Light foot traffic is often okay on tile 24 hours after it is set, unless your installer advises longer
- Grout usually needs at least a couple of days before heavy use or placing rugs and mats
- Caulk around tubs, showers, and sinks needs drying time before it is exposed to standing water
For a full master bathroom remodeling project from first swing of the hammer to your first shower, a common range is several weeks. Complex layouts, custom tile patterns, or inspection delays can stretch the timeline a bit, while simpler spaces can move faster.
Plan Your Maryland Master Bath Timeline with Confidence
When you understand the order of trades and tasks, it becomes much easier to live through a remodel. You can plan around noisy days, water shutoffs, and times when the bathroom is completely out of service. In many Maryland homes, it helps to set up a temporary bathroom space, even if it is just organizing another bath with extra storage and mirrors for the whole family.
You can also reduce delays by choosing fixtures, tile, and finishes early so materials are ready when the trades need them. Clear communication with your contractor about travel plans, work schedules, and special needs in your home keeps everyone on the same page. With a realistic week-by-week view of demolition, rough-ins, waterproofing, tile, and fixtures, your master bathroom remodeling project can stay orderly from start to finish, and you can step into your new spa-like retreat with less stress.
Get Started With Your Project Today
Transform your daily routine with a thoughtfully designed master suite that works for how you really live. Explore our
master bathroom remodeling services to see how Bathroom Remodeling of Maryland, Inc. can bring your vision to life with practical upgrades and custom details. We will walk you through every step, from initial ideas to final finishes, so the process feels clear and manageable. When you are ready to talk through options and next steps,
contact us to schedule a consultation.